
It’s a familiar story: you’re eager to cold crash your beer (on to the next one!), your gravity readings have been approaching your expected final gravity, and then… nothing. Which, of course, leads you to ask the all-important question, “Is it done, or is it stuck?” Knowing whether or not your fermentation has reached final gravity doesn’t have to be guess work--a forced fermentation test will give you the answers you seek!
What is a forced fermentation test?
A forced fermentation test lets you know the practical limit of each batch, allowing you to better judge the end point of your fermentation. In a forced fermentation test, you significantly over-pitch yeast in a small sample of wort, maintain a higher than normal ferment temperature, and record gravity change over time (≈2-3days). The high concentration of yeast and warm temperature ensures as much sugar as possible is fermented, and voila! you have the best estimate of your brew’s final gravity.
What do the results tell you?
A stuck fermentation can be due to problems with your wort or problems with your ferment; a forced fermentation test lets you narrow down the source of your problem. If your main fermentation doesn’t approach your forced fermentation test, you know there’s an issue in the fermenter and can troubleshoot your pitch rate, yeast health, ferment temperature, and oxygen levels. If both your forced ferment and your main ferment don't approach your expected final gravity, you know there’s an issue with your brew and can troubleshoot mash temperature, times, and ingredients.
What type of samples can you test?
Wort! But you can also apply this same principle to a sample from a tank suffering from a stuck fermentation to determine if sugars have been depleted or the yeast is unhappy.
How often should you test?
No matter how closely you follow a recipe, there will be variability in the amount of fermentable sugars present in your wort, so test every batch! It doesn’t take much time or equipment, and it gives you invaluable data about each brew.
What data do you collect and record?
Gravity! Log the starting gravity of your wort sample and take a reading every 24 hours. When the gravity plateaus, you know you've reached final gravity.
The Method:
What's needed?
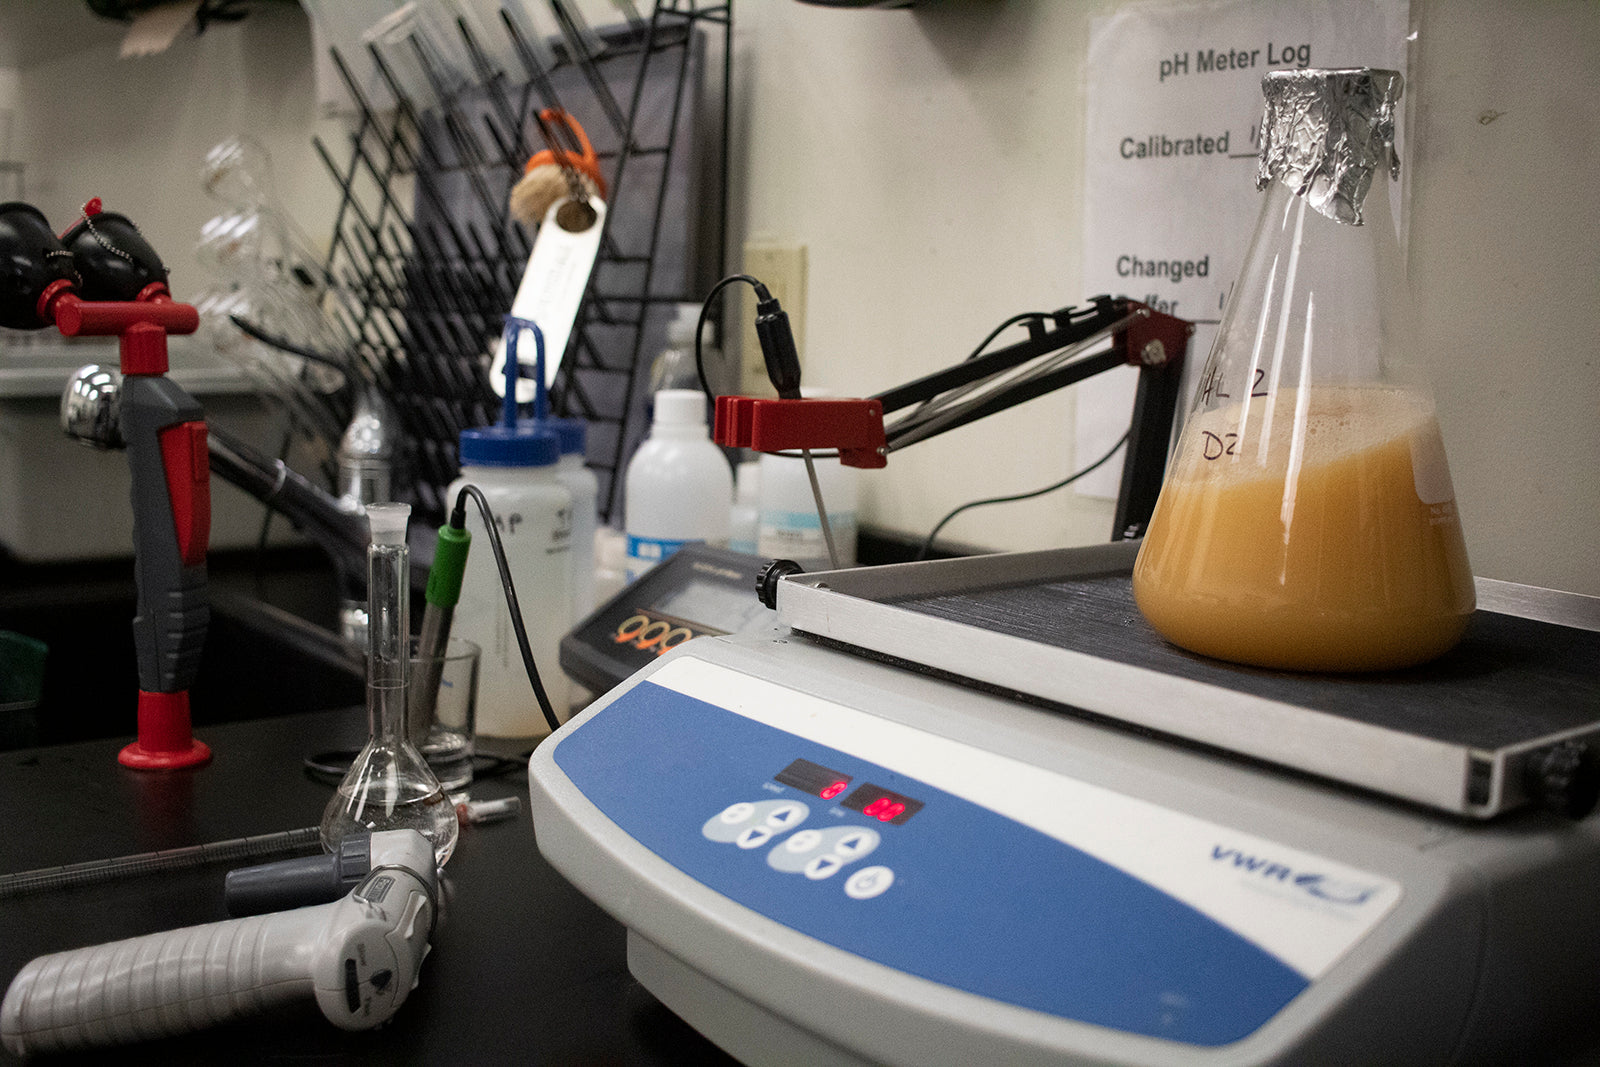
- Erlenmeyer Flask (500 – 1000 mL)
- Stopper with a water lock or aluminum foil
- Hydrometer
- Stir bar (optional)
- Stir plate (optional)
- Wort (collected aseptically)
- Yeast
Procedure:
- Clean and sanitize the Erlenmeyer flask and stir bar (if using a stir plate).
- Collect a small aseptic sample of wort (≈200 mL). The sample can be collected directly from a sterilized conical racking arm, or you can collect a sample while filling the kettle.
- Add ≈15 mL of yeast slurry or 3 g of dry yeast to the flask.
- Seal the flask with either a stopper or aluminum foil. If using aluminum foil, sterilize the foil by spraying it with 70% isopropyl alcohol and allow the alcohol to evaporate.
- Place the flask in a warm environment (72 – 80 ˚F) and agitate frequently. If using a stir plate, stir gently to keep yeast happily in suspension.
- Record the gravity for ≈2-3 days until final gravity is reached (the gravity stops decreasing and reaches a plateau).
Leave a comment